Louvered Vent Openings
I pondered these things for quite a while, not knowing the best way to attack them. Thinking layers, I was pondering how all the things were going to work together. I had to figure out how to weatherstrip them, how to attach the screen, how to make the flashing work... things like that. Finally, I got down to business.
I ended up installing the louvers into the openings using the softer, black closure strips on the sides because they fit the metal roofing contour, and the firmer, white closure strip for the top section. I left the weatherstrip out for the lower section so any water would have a better chance of escaping. For the metal flashing I had to cut and trim each one to go around the metal roofing contour and depth. I installed them all using roofing/siding screws with the rubber washer removed.


I unrolled the screening I bought and measured out a couple of squares to fit over the louver openings. I had to trim them to fit around the protruding hex heads of the louver screws, then I painted them up with a little Krylon. Time to put everything together.


I had to do a fair amount of trimming to get the flashing pieces to nestle into the metal wall contour. They were all installed using self-drilling screws because of the thicker extrusion used on the louvers. I still have more flashing to put up, screw heads to touch-up, and caulking to do, but that will be the final items of business before declaring a done deal.


The Flashing Finish
The last thing there was to do was putting on flashing over a few of the edges and corners, and around the fan on the back wall. I was dreading it all because of it being such a slow, tedious job. Tucking foam closure strips under them as I went, pre-drilling all the holes, and making all the little cuts and bends as I went... probably not unlike a finish carpenter tying all the loose ends up in a new house. It feels like you're working an inch at a time. I did a little brake-forming on a piece of flashing and placed that over the door to keep water off the top of the door. (Fortunately, the door is facing away from our usual wind/rain direction, so it shouldn't be a problem anyway.) All the caulking and touch-up is complete, and what do you know--crops are almost ready for harvest!
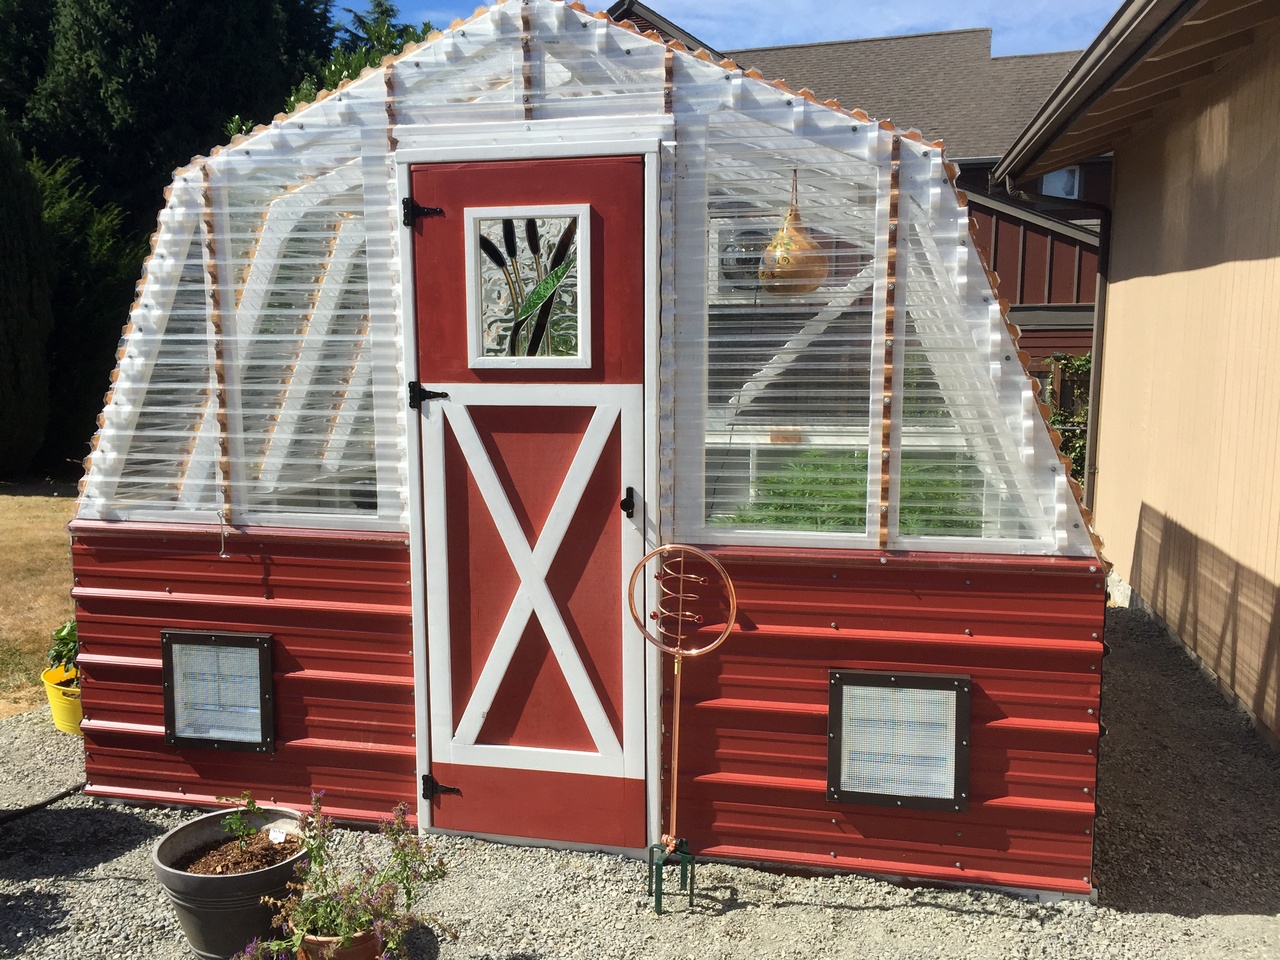
I didn't get any pictures of the final leg as I went, but here are a few of the finished product. Complete, and just in time for the Pacific Northwest rains!


Conclusion
Would I build this greenhouse again? Probably so. It's a great design--the fact that you can add to the length of it easily if you want to makes it easily customizable. It's also super easy to make it taller or shorter if you so desire. A few post-project notes about our greenhouse project:
- COVID caused a lot of stock availability issues. There were several times I had a huge problem with finding everything I needed even though we are fortunate to live in an area that has 3 "pairs" of stores (Home Depot and Lowes) close to each other. Even so I was constantly hitting multiple stores on a single trip just to fill gaps. One week a store would have lots of flashing and no screws. The next week it might be no flashing and lots of screws. More than once I came home with nothing after hitting more than two stores. The whole 'chasing your tail' thing drove me nuts. Good thing I was not in a hurry. I started this thing in May and here it is the end of September. In all that time we had like only 2 or 3 rainy days (if you can call them that) so it's pretty obvious I was taking my time and enjoying myself. I am freshly-retired after all...
- I did a lot of drilling/driving with my trusty DeWalt 20v drill--so much so that the chuck expired near the end of the project. Of course, I didn't buy a new drill--that's not my style. Instead, I ordered a new drill chuck (only $16) and worked on other things until it arrived.
- People have asked, "Why didn't you turn the panels vertical so the water will run off easier?" Well, that's the common sense method, but installing the panels horizontally allows you to install the panels without any cutting or trimming. Of course, I had lots of cutting and trimming--had I not put the skylights in it would have been super easy. In my situation, adding the skylights made the directional choice a moot point anyway because of the amount of cutting and fitting I had to do to install roof clear panels around them. I probably could have turned the roofing panels without adding a whole lot more work than I already piled on myself.
- The roof skylights I came up with are a life-saver. When you first open one of them in the morning you can feel a pretty good rush of air go out via the chimney effect. They were instrumental in everything surviving the summer heat we had this year!
No comments:
Post a Comment